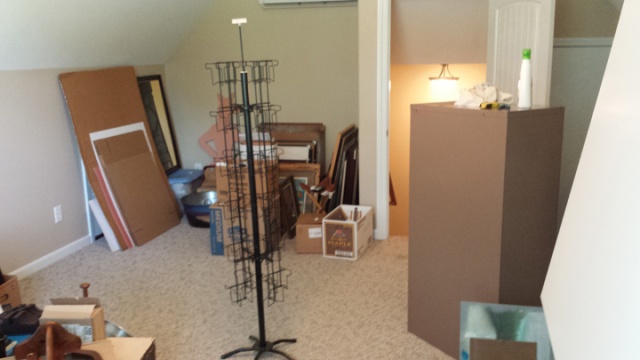
The studio at our old house began in the sun-room, then flowed over into the garage, and finally into the big barn. So when we purchased our new home a little over a year ago, one of our goals was to make the bonus room over the garage my art studio.


I finally got everything set up and organized, but after working for a few days I quickly realized the lighting was absolutely horrible. Yes, the large window allowed for an abundance of north light, which is most desirable if you are in the northern hemisphere such as we are. It was actually perfect light for working on my pastel pet portraits as the drafting table/easel was in the corner by the window. However, if I was working on the benches, the window cast huge shadows on one side and the light from the ceiling fan was almost useless. Small candelabra incandescent bulbs that did not have enough lumens for reading let alone doing artwork.

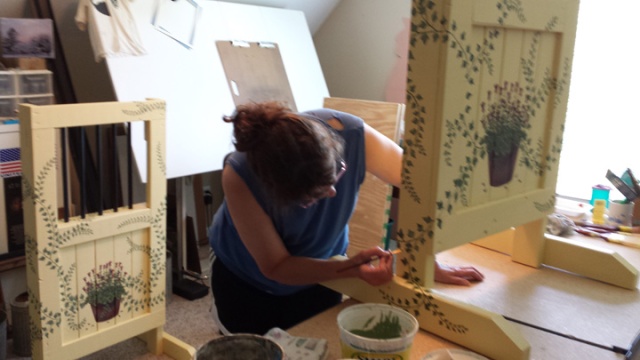
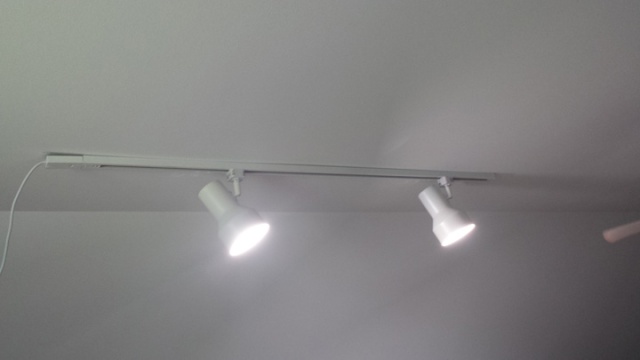
The photo above shows me working in my studio with the original lighting. You can see how dark it is on the side opposite the window, and what light is there makes things more yellow, which can throw your colors off completely. I have worked in improper light quite a bit, so I am used to adjusting for it. I decided over the winter to research the issue. I was fortunate to find a blog post by Will Kemp, a wonderful artist and instructor in the UK. In his post about studio lighting, Will describes in detail the ins and outs of what kind of lighting you need, what to look for in the ratings and measurements found on the packages, etc. I decided to see if I could find something that would work and came up with track lighting using spot light bases. I also found the perfect daylight range in LED and CFL bulbs.


I was completely amazed and elated at the transformation! I can actually see what I am doing! The room is so much more friendly to work in, and it should mean better production times too. Although the bulbs are a bit pricey compared to incandescent, it was much less expensive than I thought it would be, and the bulbs use less energy and should last for a very long time. Below is a photo of a project I worked on after installing the new lighting.

Hats off to you Mr. Kemp! I am glad I stumbled across your article. If you would like to read Will’s post about proper studio lighting, you may do so by clicking here. I wish you every success in finding just the right light for your work, and happy painting!

